Your first API with Django Rest in just 5 min. (Windows)
I am an aspiring data scientist who is also a full-stack python developer and I love to share my learnings with others. I love to work on exciting projects and keen to learn new technologies. I’m now trying to solve women’s issues — including the wage gap and sexual harassment and most importantly equality.
What is Django? :-
Django is a free and open-source framework for Python. Django, pronounced "Jango," is named after the famous jazz guitarist Django Reinhardt. Django made its first release in 2005 and it follows MVC architecture.
What is Django Rest?
The Django REST framework allows you to write a REST API as a part of your normal Django website. Say, for example, you have a website that allows users to manage sound samples. - users can interact with your website by clicking on buttons in their browsers etc. but by implementing a good quality REST API too, you make it possible for developers to implement their own client applications to provide new functionality.
Let's code.
To start with Django Rest, you should have Python installed on your personal computer. Type the following commands on your command prompt:-
> mkdir my-django
> cd my-django
This will create a folder for your django project. After creating a folder, install virtual env (venv package) for python and create a virtual environment.
> pip install venv
> python -m venv virtual-django
In the above code, after installing the venv package, we are creating the virtual environment and naming it as virtual-django.
After creating a virtual environment, activate the virtual environment and install the dependencies required to create and run a Django rest project.
> virtual-django\scripts\activate
> pip install django
> pip install djangorestframework
Use the following command to create a project :-
> django-admin startproject myproject
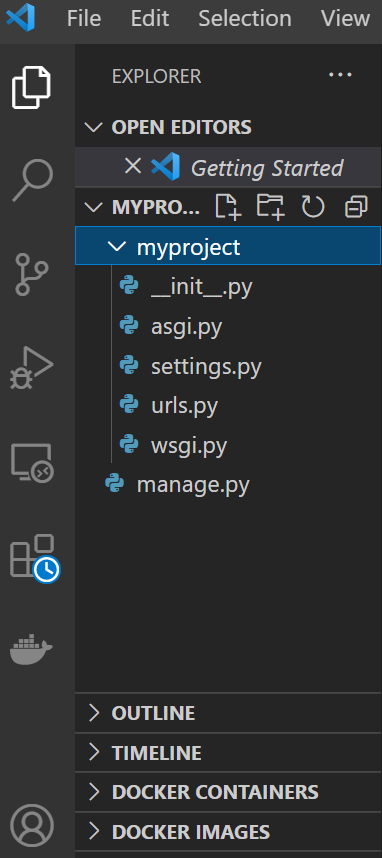
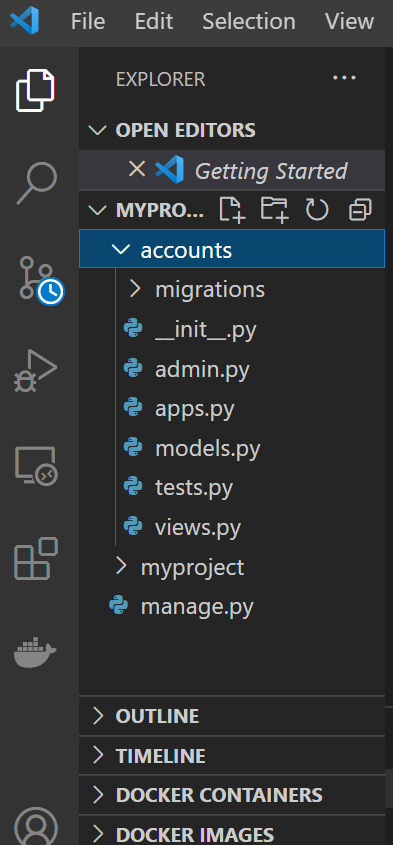
Now, let's get inside "myproject" folder, create an app inside the project and start coding :-
> cd myproject
> python manage.py startapp accounts
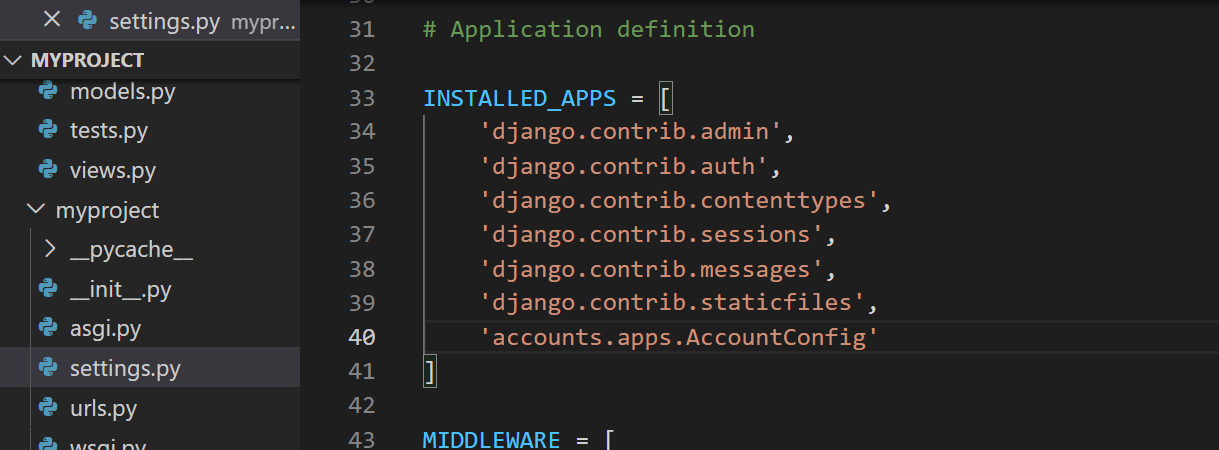
In accounts app, create two files - urls.py and serializers.py and add our accounts app and rest_framework in settings.py. Look at the line no. 40 in the below image.
Setting up the database :-
We'll use postgres here. To setup postgres in your local system, install the client app from here , https://www.postgresql.org/download/ . To configure your postgres database, follow this tutorial: https://www.postgresqltutorial.com/install-postgresql/
After configuring it, we can create a database in PSQL. The CREATE DATABASE command let’s us create a new database in PostgreSQL.
CREATE DATABASE helloworld;
The CREATE USER command let us create a user for our database along with a password.
CREATE USER <yourname> WITH PASSWORD '<password>';
Next, we have to grant our new user access to the database we created earlier.
GRANT ALL PRIVILEGES ON DATABASE helloworld TO <yourname>;
Postgres Configuration in Django
Let’s navigate to myproject/settings.py. In the DATABASES section, you’ll see the code snippet for DATABASES below.
DATABASES = {
    'default': {
        'ENGINE': 'django.db.backends.postgresql_psycopg2',
        'NAME': 'helloworld',
        'USER': '<yourname>',
        'PASSWORD': 'password',
        'HOST': 'localhost',
        'PORT': '',
    }
}
Let’s install psycopg2 using pip. psycopg2 is a popular PostgreSQL database adapter for Python.
pip install django psycopg2
Now, let’s make sure that we have connected to the PostgreSQL database.
The manage.py file is a Python script that allows us to perform administrative tasks like migrations, running the server, etc.
The makemigrations command is responsible for creating new migrations based on the changes you have made to our models. Since we don’t have a model in our Django project, we will not worry about this.
python manage.py makemigrations
When you run it for the first time, the SQL queries for default models in the Django project will get created and the makemigrations command creates a file with all the SQL commands that needs to be executed for the models. The migrate command will execute SQL commands written in the migration file on the database.
python manage.py migrate
After running the above command, you will get something like this in your CLI.
Operations to perform:
  Apply all migrations: admin, auth, contenttypes, sessions
Running migrations:
  Applying contenttypes.0001_initial... OK
  Applying auth.0001_initial... OK
  Applying admin.0001_initial... OK
  ....
  ....
  Applying auth.0012_alter_user_first_name_max_length... OK
  Applying sessions.0001_initial... OK
python manage.py migrate command created some default tables in our database. You can check that by typing \dt in psql shell
Creating first API
Now, we are ready to go with our first API to register any new user in our application. Firstly, we will create a database table and its attributes. Write the following code in your models.py :-
from django.db import models
from django.contrib.auth.models import AbstractUser

#Create your models here.

class User(AbstractUser):

    email = models.EmailField(max_length=255, unique=True)
    password = models.CharField(max_length=255)
    username = None

USERNAME_FIELD = 'email'
REQUIRED_FIELDS = []
By creating a class here, a table named 'User' will be created in the database. Let's give it some attributes named email, password and username. From 'models' package, we can set the datatypes of each attribute along with various properties like max_length, min_length, unique, not_null etc. Know about the models here.
After creating a model, let's create a serializer. Write the following code in serializers.py :-
from rest_framework import serializers
from .models import User


class UserSerializer(serializers.ModelSerializer):
    class Meta:
        model = User
        fields = ['id', 'email', 'password']
        extra_kwargs = {
            'password': {'write_only': True}
        }

    def create(self, validated_data):
        password = validated_data.pop('password', None)
        instance = self.Meta.model(**validated_data)
        if password is not None:
            instance.set_password(password)
        instance.save()
        return instance
"Serializer is used in Django to convert the model instances or querysets into python supported data types that can be easily rendered into JSON, XML, or other formats. " Firstly, import serializers from rest_framework and our model User from models.py.
Now we have to create a view for our API call. All views for a Django application are placed in views.py file. Here a view is a python function that takes in a request and returns a response. Write the following code in views.py :-
from rest_framework.response import Response
from .serializers import UserSerializer
from rest_framework import serializers, status

class RegisterView(APIView):
    """View to register user and store user details in the database"""
    def post(self, request):
        serializer = UserSerializer(data=request.data)
        serializer.is_valid(raise_exception=True)
        serializer.save()

        user_data = serializer.data

        return Response(user_data,status=status.HTTP_201_CREATED)
After importing all the required modules, we are creating a view class which we called whenever the respective API will be called, this view will receive the details of a new user and save it with the help of the respective serializer in the database. Inside the method post, we will call the user serializer and save it in a variable called serializer and sending the data as an argument, received by calling the API from forntend. Here, the data from frontend will come in the 'request' passed as an argument to the post method. After that, simply save the serializer by calling save method. We are fetching the newly saved data in user_data to send in response. At last, return user_data and status code as a Response.
Now, the only thing left is to create a URL to register users. Replace the following code in urls.py:-
from django.urls import path
from .views import RegisterView

urlpatterns = [
    path('register', RegisterView.as_view())
]
Specify the register URL path and respective View to be called whenever this API will get called. Don't forget to import the RegisterView from views.py.
Register the URL of our accounts app in our main app, myproject's urls.py.
from django.contrib import admin
from django.urls import path, include

urlpatterns = [
    path('api/',include('accounts.urls')),
]
Cheers! We've created our first rest API to register a user in our app. You can either add this backend(Rest APIs) to react or any other frontend you want. Now, we are ready to go. Open your postman to test this API.


